Managed USA VPS
 Managed Saudi VPS
 Managed Egypt VPS
 Managed UAE VPS
🔍 Quick Search
cloudlinux cpanel install wordpress
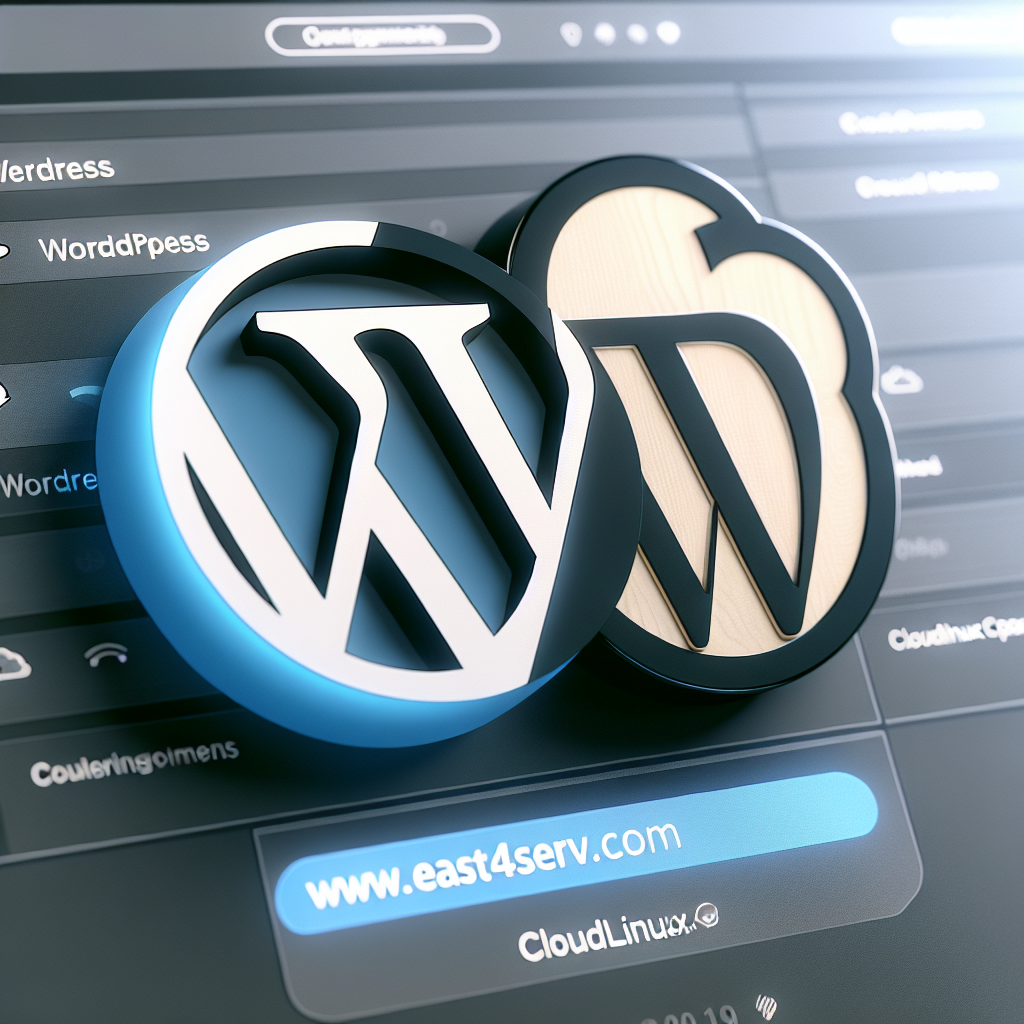
How to Install WordPress on CloudLinux cPanel
WordPress is a popular content management system that allows you to create and manage your website easily. Installing WordPress on CloudLinux cPanel is a straightforward process that can be done in a few simple steps. Below is a step-by-step guide to help you install WordPress on CloudLinux cPanel.
Step 1: Log in to your cPanel Account
First, log in to your CloudLinux cPanel account using your credentials.
Step 2: Locate the Softaculous App Installer
Once you are logged in, locate the Softaculous App Installer in your cPanel dashboard. Softaculous is a popular auto-installer that allows you to install applications like WordPress with just a few clicks.
Step 3: Install WordPress
Click on the WordPress icon in Softaculous to start the installation process. Fill in the required information such as site name, description, admin username, and password. Click on the install button to complete the installation.
Step 4: Access Your WordPress Dashboard
Once the installation is complete, you can access your WordPress dashboard by navigating to your domain followed by "/wp-admin" in your browser. Log in using the admin credentials you set during the installation process.
Step 5: Customize Your Website
You can now start customizing your WordPress website by choosing a theme, adding plugins, and creating new content. WordPress offers a user-friendly interface that makes it easy to design and manage your site.
© East4Serv - Your One-Stop Solution for Server Management
Looking for reliable server management services? Visit www.east4serv.com